
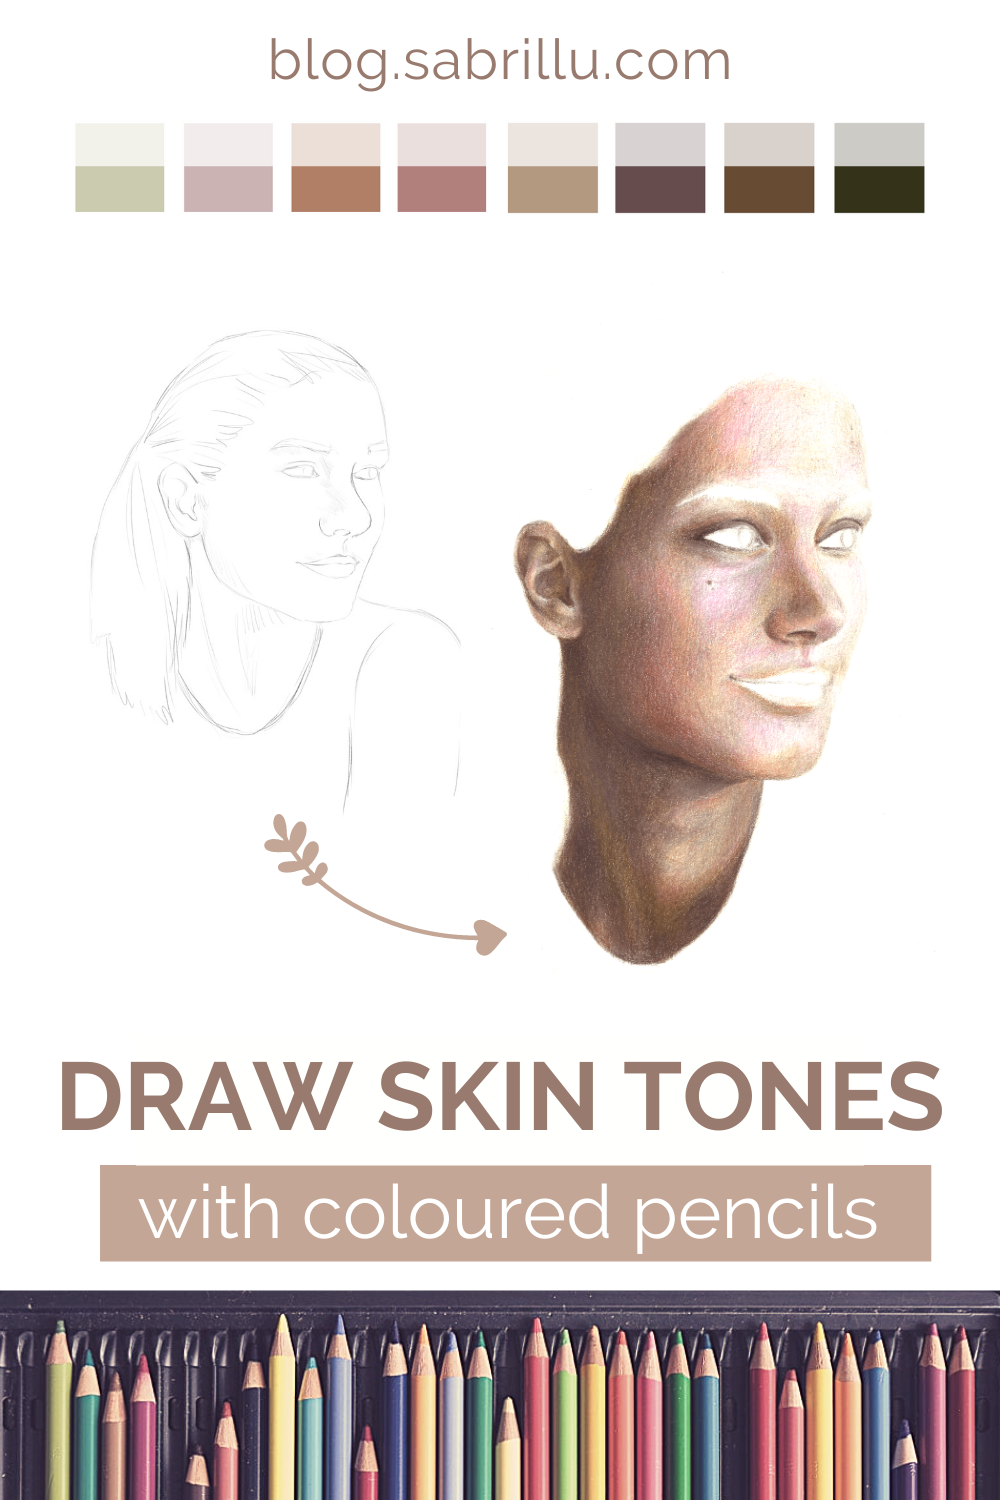
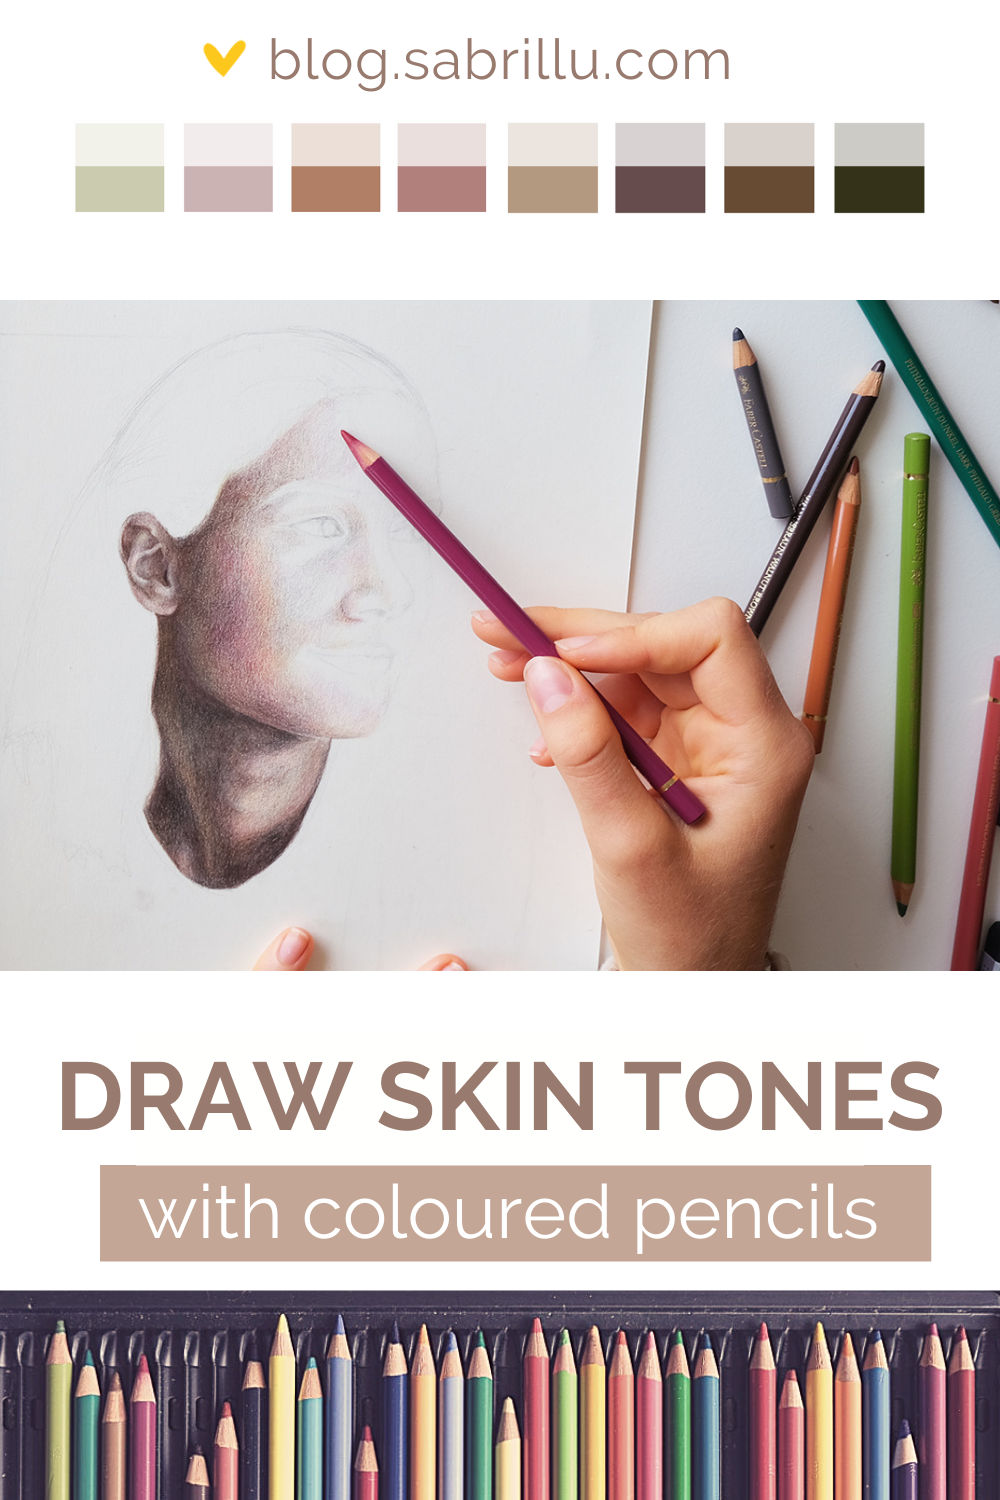
07 Sep How to Draw Skin Tones With Coloured Pencils | Video Tutorial
How can I draw skin tones with coloured pencils?
Have you always wanted to know how to draw realistic skin tones with colored pencils? I’m sure you know the one “skin color” that is included in every colouring pencils set, but you’ve probably noticed: it doesn’t look realistic at all.
Many of you have probably already drawn black and white portraits with pencils. You don’t have to worry about the choice of colour, you can concentrate on facial features, light and shadow, as well as contrast.
Drawing regular pencil portraits is easy compared to coloured pencil portraits. This tutorial should help you to take the next step to coloured portrait drawings!
This tutorial is suitable for advanced creatives. As a basis for this tutorial, you should already be able to draw faces with the correct proportions and understand the basic rules of light and shadow.
Guest Post
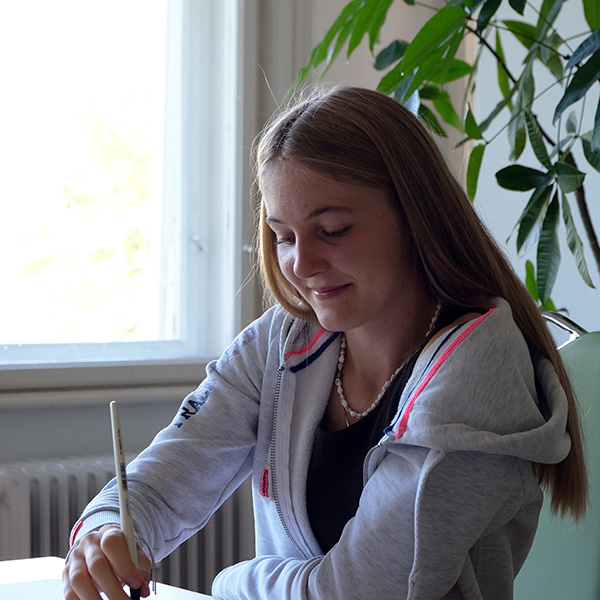
I am very happy to show you this super helpful tutorial that the lovely and very talented Anna prepared for us.
Anna supported me as an intern for 4 weeks and is currently studying to be a graphic designer. In her spare time, she draws playful characters and is also a real professional when it comes to realistic drawings. At the moment she prefers to use coloured pencils for her creations and can help us understand the complexity of skin tones in this tutorial.
Extra
Anna also made a timelapse video where she shows us how she uses coloured pencils to draw skin. Watch her colour in her portrait drawing!
Jump to the videoPreparations
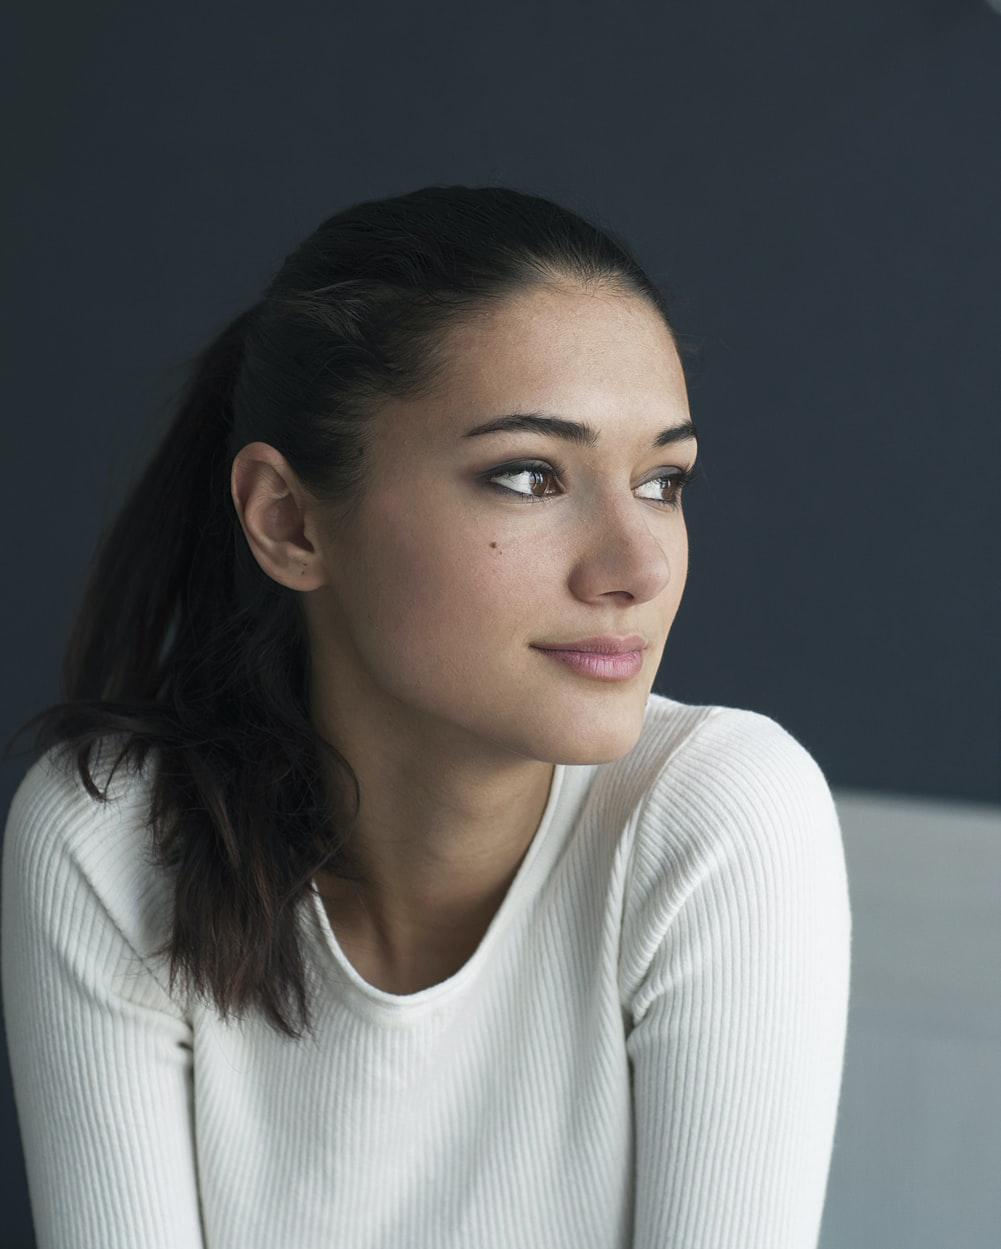
Before we can start, you first need a suitable portrait photo that you want to draw (as an exercise, you can also use the same photo I used). It doesn’t matter whether you have your photo printed out or in digital form. These are the drawing materials you will need:
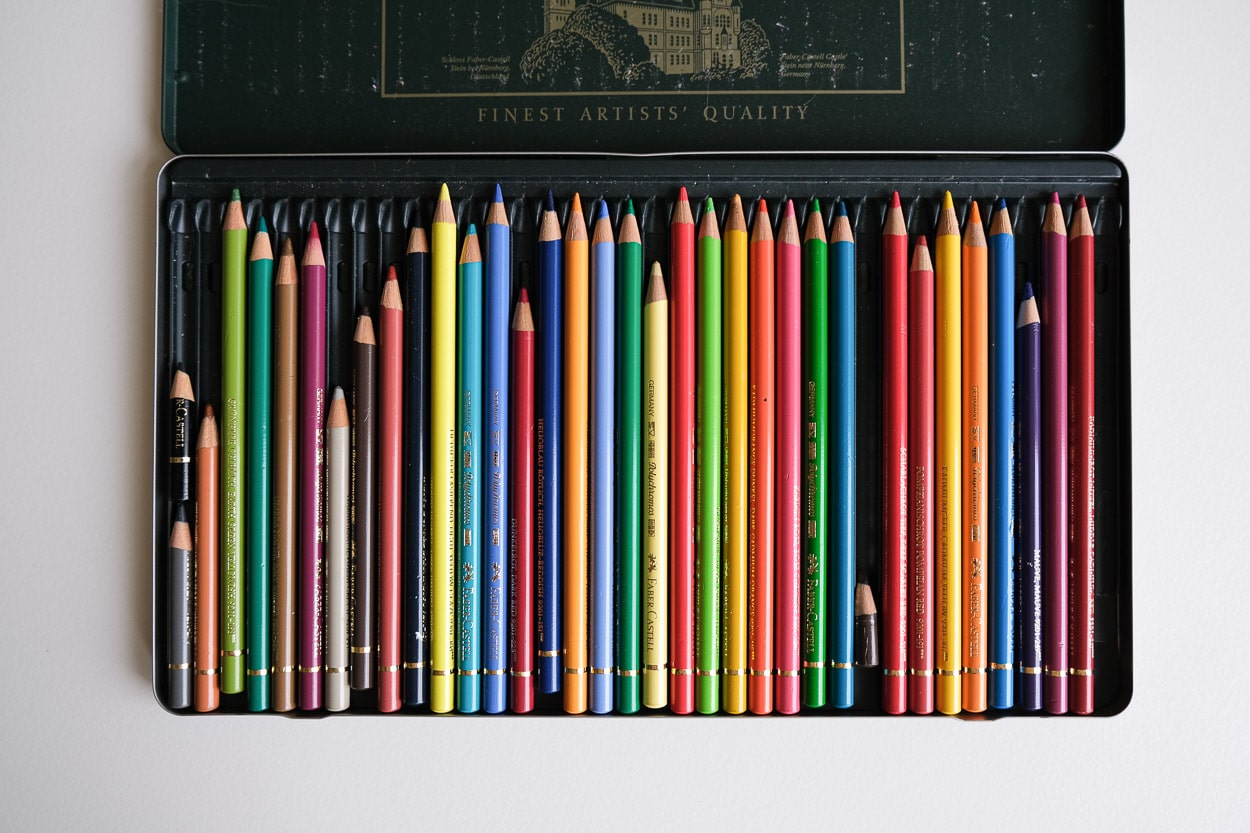
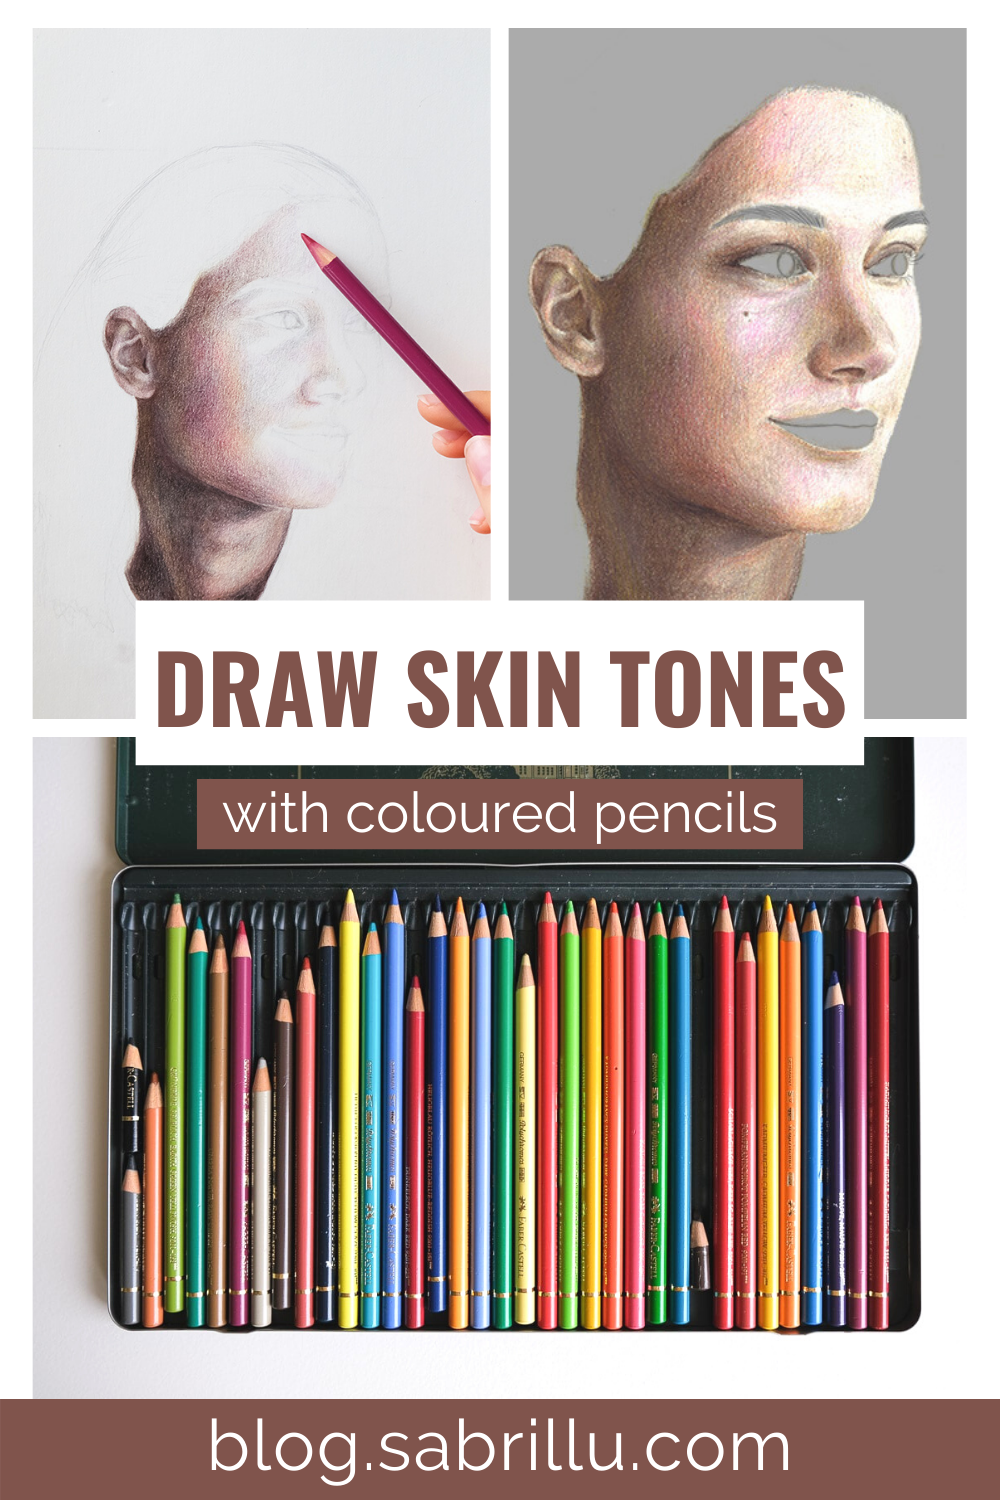
- Coloured pencils (I used Polychromos from Faber Castell)
- and the basics, such as erasers, sharpeners and paper
Part 1: Analyse Colours
First we will analyse the skin colour of the person in the portrait.
You are probably familiar with the typical “skin colour” that can be found in all well-stocked coloured pencil sets. Have you ever tried to draw skin with it?
If you only take one colour from the box to draw human skin, your result will most certainly not look realistic. Skin normally looks too orange or simply unnatural when coloured in this way. So, if you want to draw realistic skin tones with coloured pencils, you have to know the following:
People's skin tones are never just one color, but many different colours!
Take a close look at your portrait photo and try to identify individual colours. Write them down on a piece of paper.
At first glance, it seems almost impossible to see multiple colours of the skin when looking at the photo. It takes some practice to break down the many nuances of the skin into multiple colours. But there are ways to make this easier!
Option 1: Analyse Colours Digitally
I first divided the skin colours in Photoshop using “Posterize“. If you have access to a computer with an internet connection, you can also download a (free) photo program (e.g. Gimp) and try it out yourself. The number of colours in the picture is reduced and colours that you wouldn’t have noticed before become more visible in larger coloured areas.
What this tone separation shows us is that there are many unusual colours hidden in a person’s skin! In the picture you can see the individual areas and below them some colour boxes with the most important skin tones.
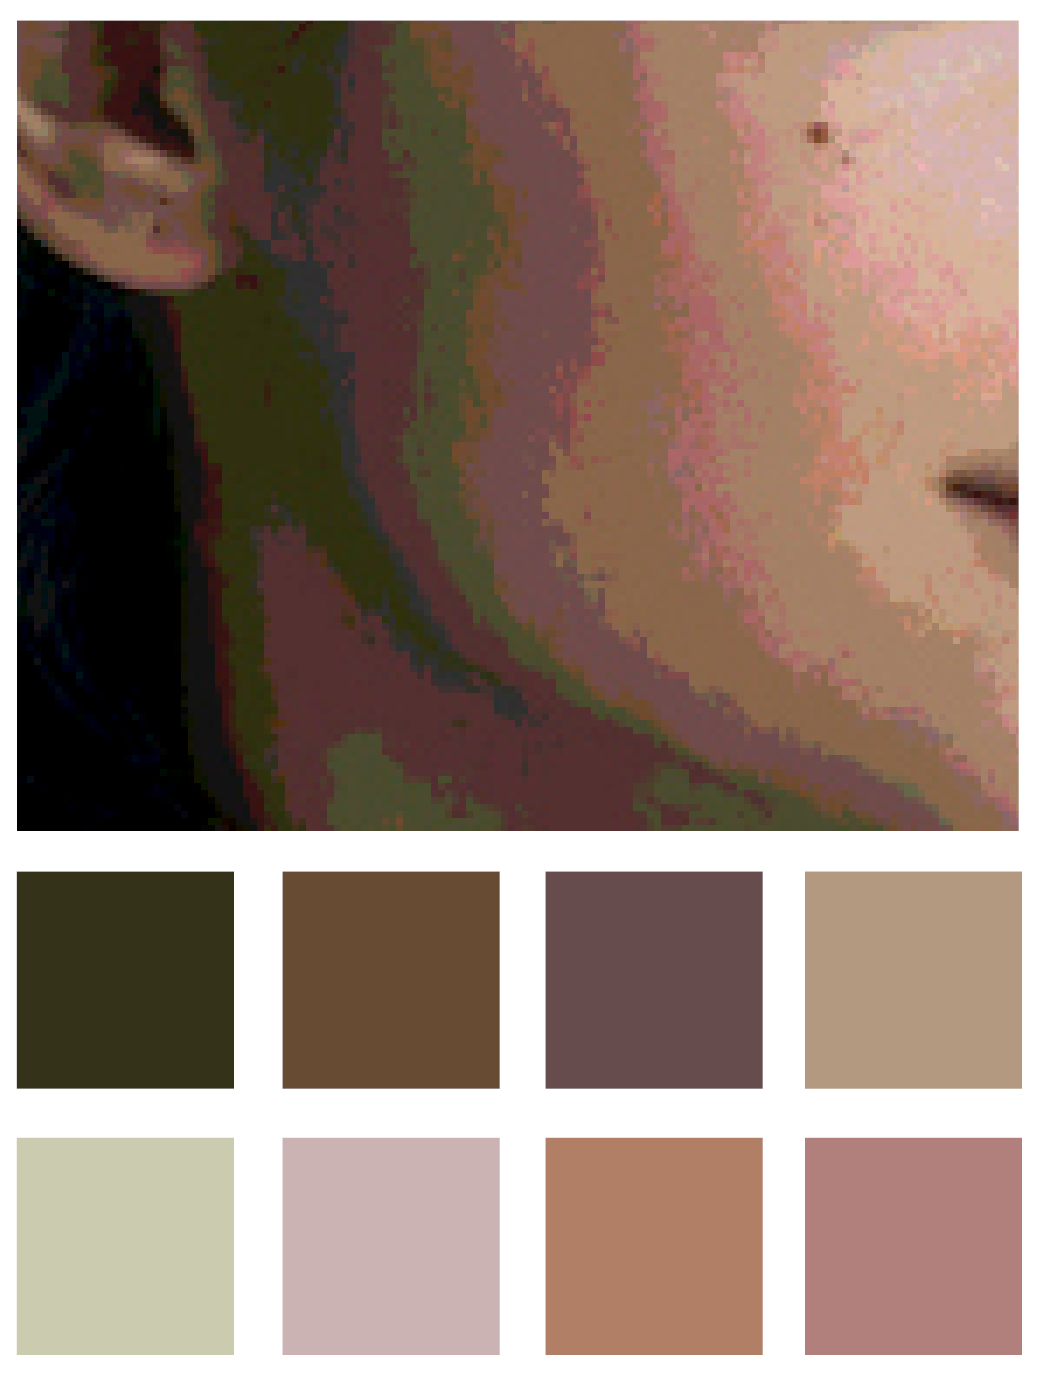
You will have noticed straight away that in the shaded (darker) areas of the skin there are a lot of so-called “cold” colours (in this example especially blue and green tones). In contrast, in the brighter parts of the face, the colours appear warm and rosy.
A good balance of cold and warm colours makes your portrait drawing look much more realistic.
Of course, you won’t find all the colours that you’ve just discovered as colouring pencils in your box. This is why you need to apply and mix different colours on top of each other to get the right result.
I can assure you that there is a way to mix any colour!
Take a white sheet of paper and try to mix the skin colours as similarly as possible with your coloured pencils. You can also use this practice sheet for mixing colours.
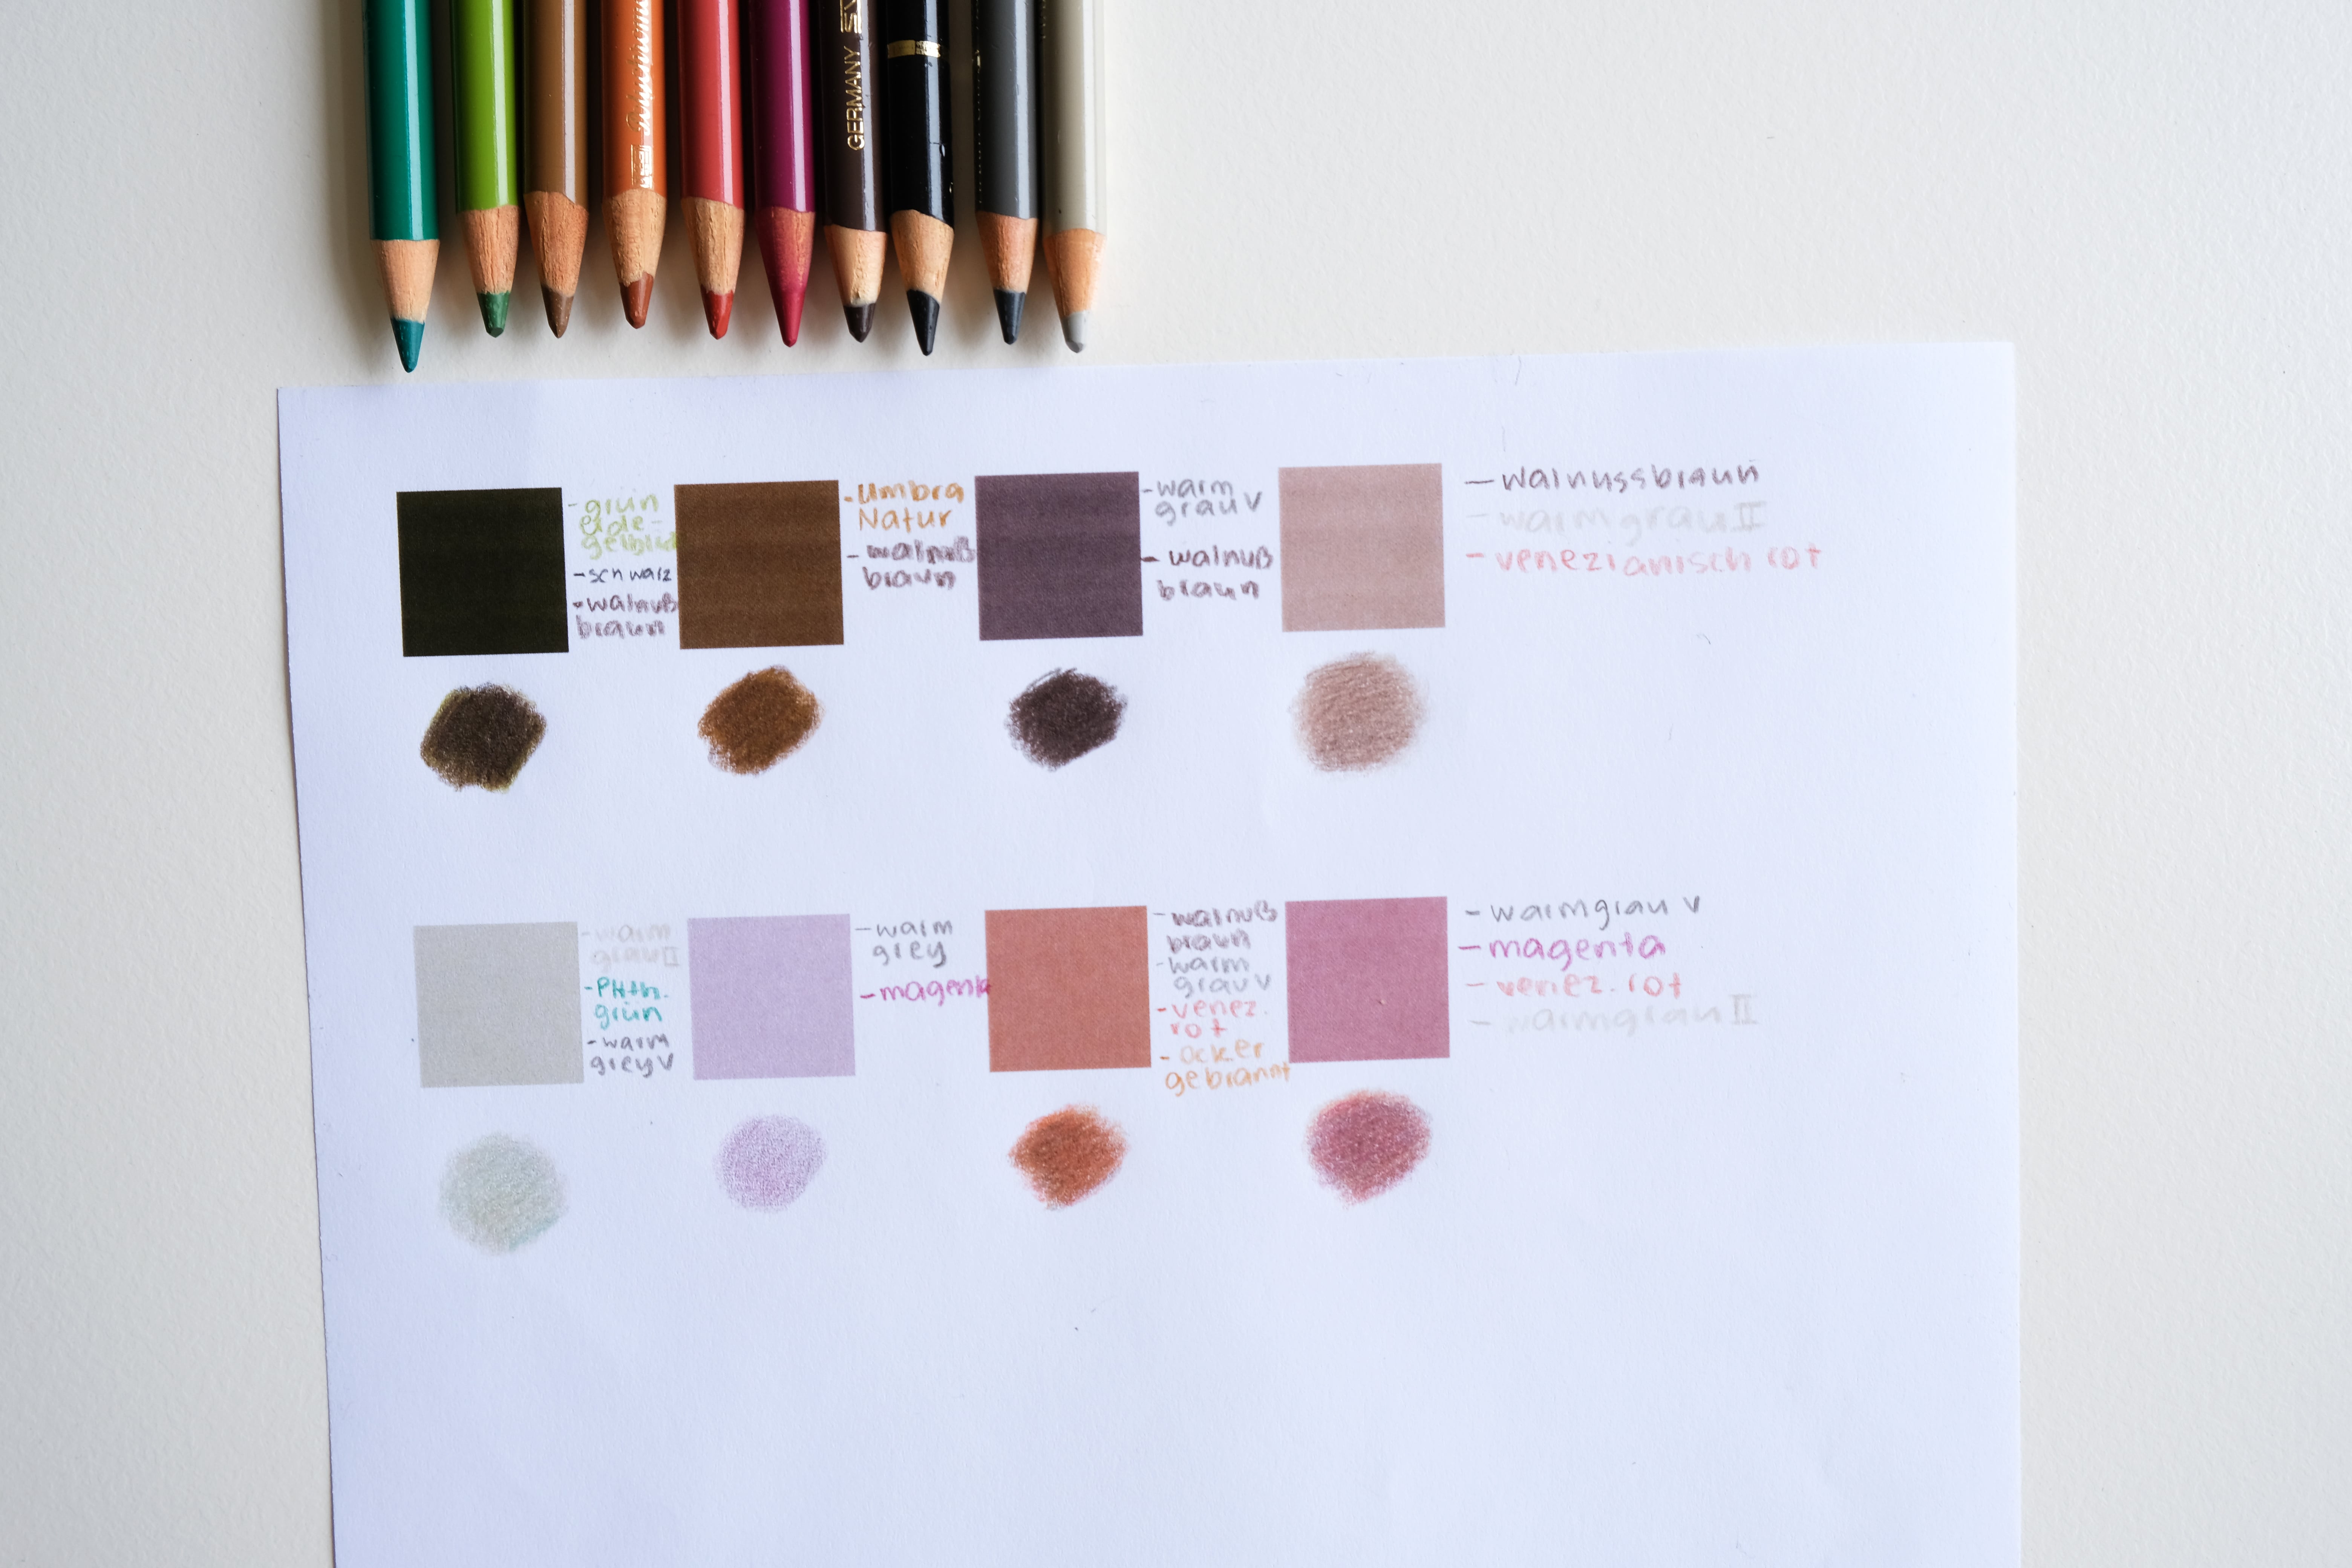
Write down exactly which pens you used so that you can select them again later for your drawing. I find this method very helpful. Even if you don’t have that much experience, you have at least chosen the right colours!
Option 2: Improve Your Colour Perception
If you only have a printed photo to hand, or would prefer to work without digital help, this tip can definitely help you!
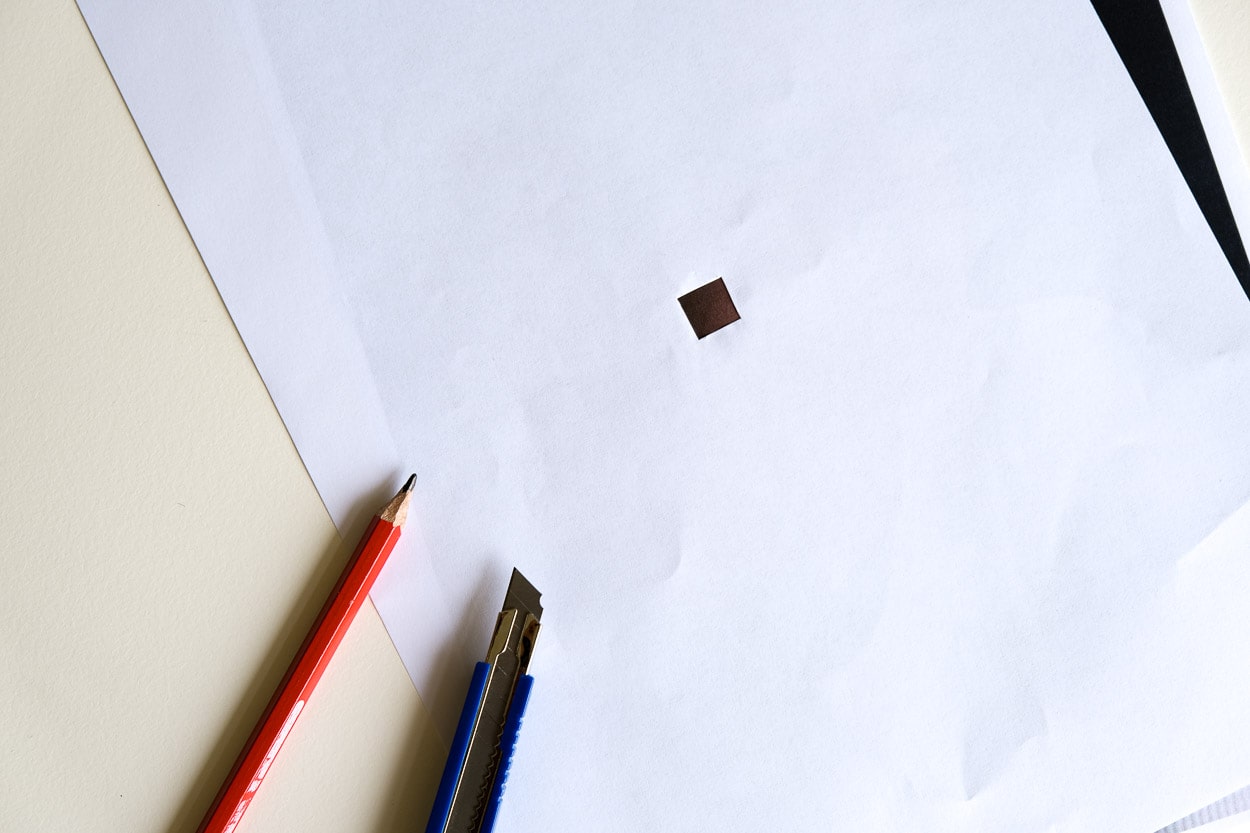
For this you’ll need a white sheet of paper in the same format as your photo, a pair of scissors / cutter and a set square. Draw a 1cm x 1cm square in the middle and then cut it out.
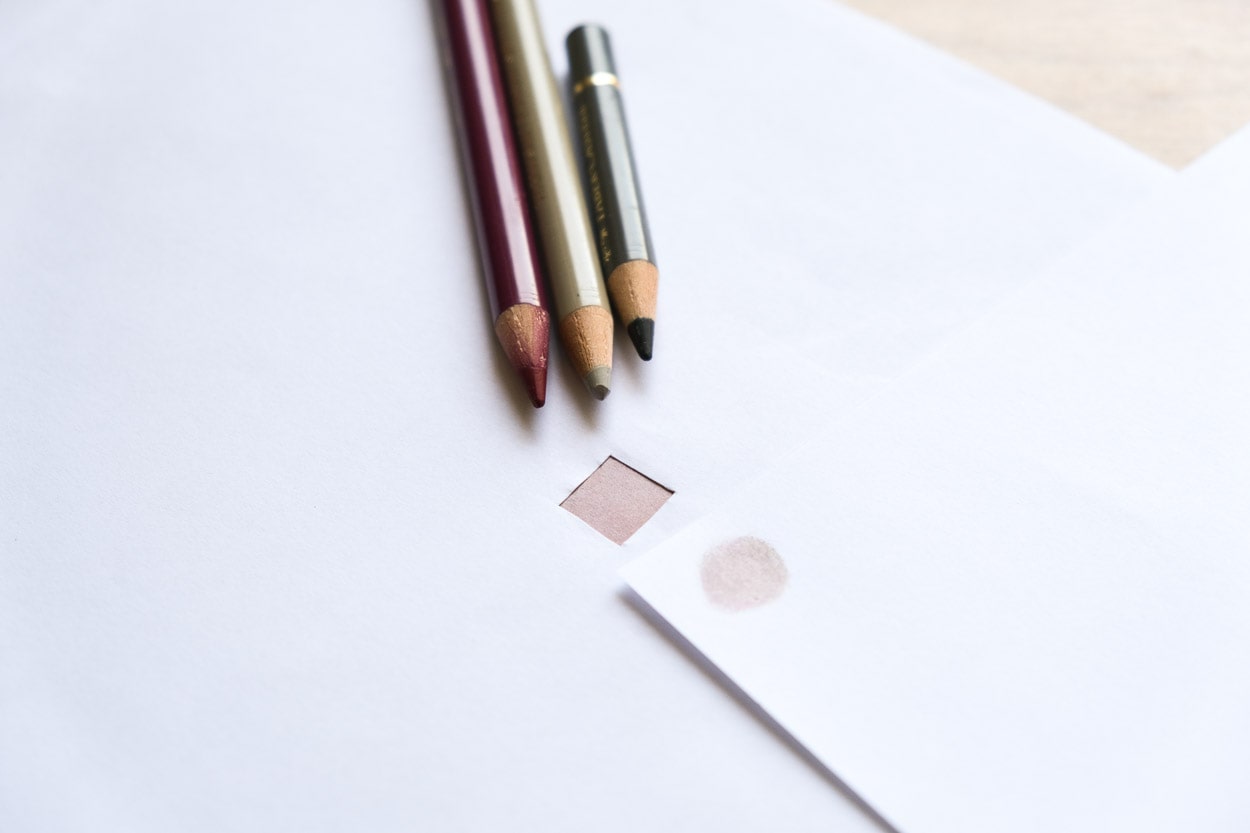
Then you put the paper on top of the photo. Move it so that you can see different areas of the skin through the hole. Because you only see a small section of the skin, you can focus on each individual colour. This “little window” allows you to see the colour as a sectioned-off area on the white paper. The comparison with the white of the paper will help you to objectively analyse the color. This way your clever brain can no longer tell you that every face is only made up of pink tones. 🙂
The next step is the same as in option 1. Take a second sheet of paper and place it next to the window. Try to recreate the shade you see through the hole with your coloured pencils.
Part 2: Drawing Process + Video!
When drawing with colored pencils, the following applies in general: Use even movements applying the same pressure and add several thin layers on top of each other from different directions.
Step-by-step: Drawing Skin Tones With Coloured Pencils
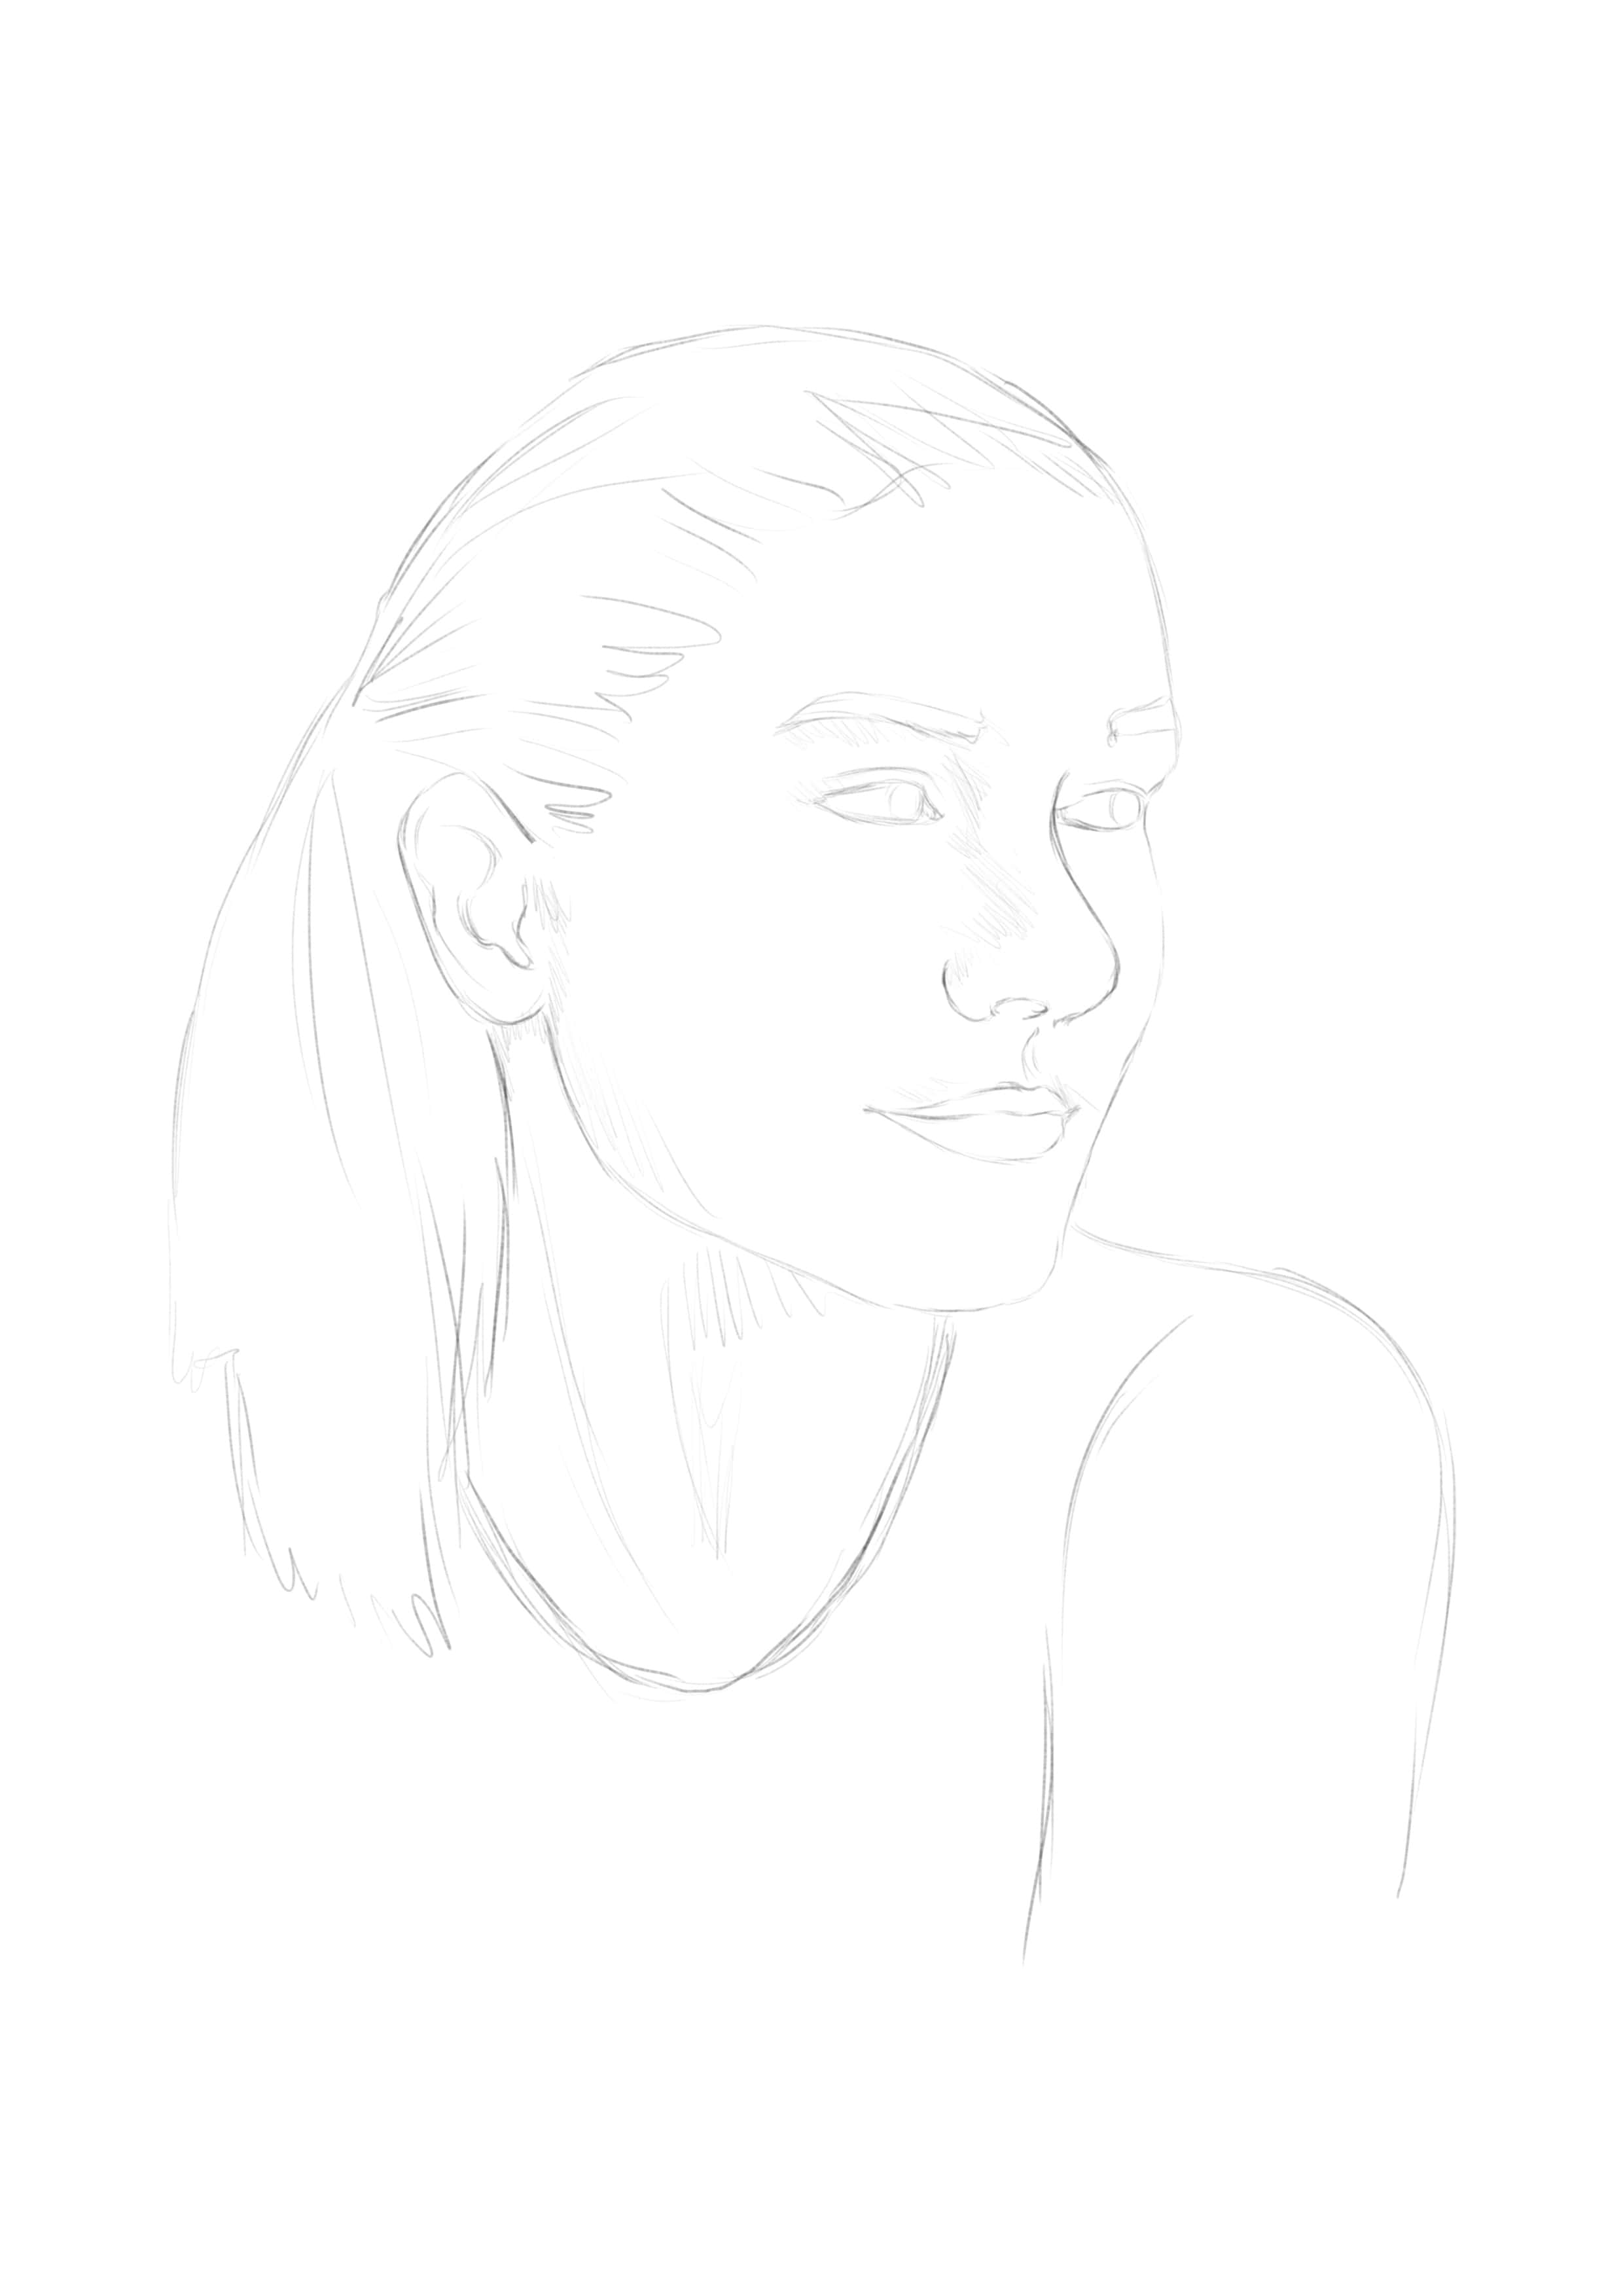
- Sketch the outline of your portrait.
- Lightly erase the sketch so that it becomes only slightly visible. (a kneaded eraser is very suitable for this)
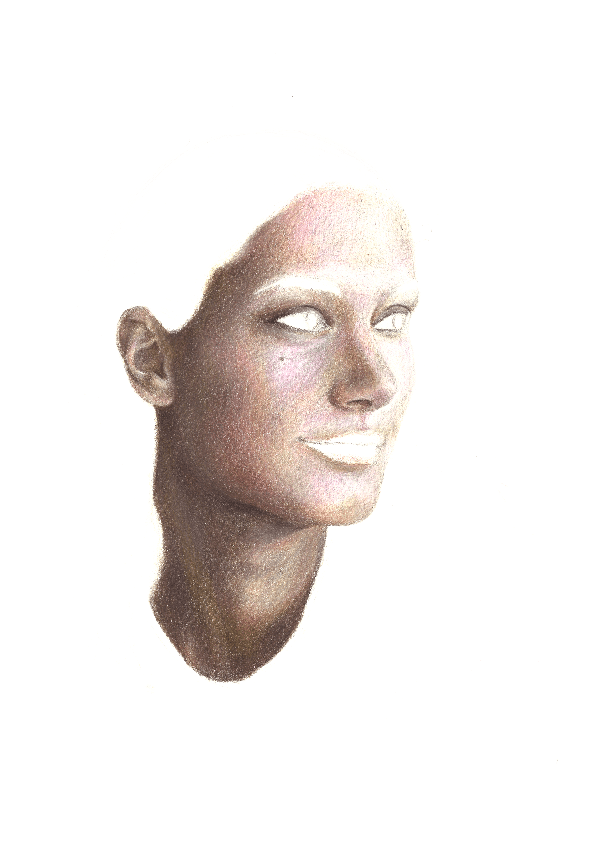
- Start your drawing with a first layer, which should serve as a base. I used the brightest pencil for this. Choose a neutral color. In my case it was a light, warm shade of grey. Try to apply this first layer very evenly to dark areas and leave the light areas lighter or completely white.
- Then start in the darkest area of the face. It is always easier to make dark areas even darker afterwards instead of making light areas lighter. For example, if you start in the light area and it turns out to be too dark, it is difficult to touch up with an eraser later.
Therefore, always start drawing in the darkest areas of your portrait. Warning: that doesn’t mean you should draw with the darkest pencils first!
-
Always work your way from light to dark.
Work in very fine layers without applying a lot of pressure. Take your practice sheet to hand – you have already written down all the colours that you need for your drawing. Then always choose the lightest colour you wrote down for the colour field and slowly work your way to the darker colours.
In my case, I started on the far left (near the ear) with light green and light brown and then gradually built up the right shade with dark brown and dark grey. I used a lot of brown, grey and green in the neck areaYou shouldn’t use black at all at the beginning. The darkest accents are best set at the very end, when it is already clear what light-dark balance the picture has or needs.
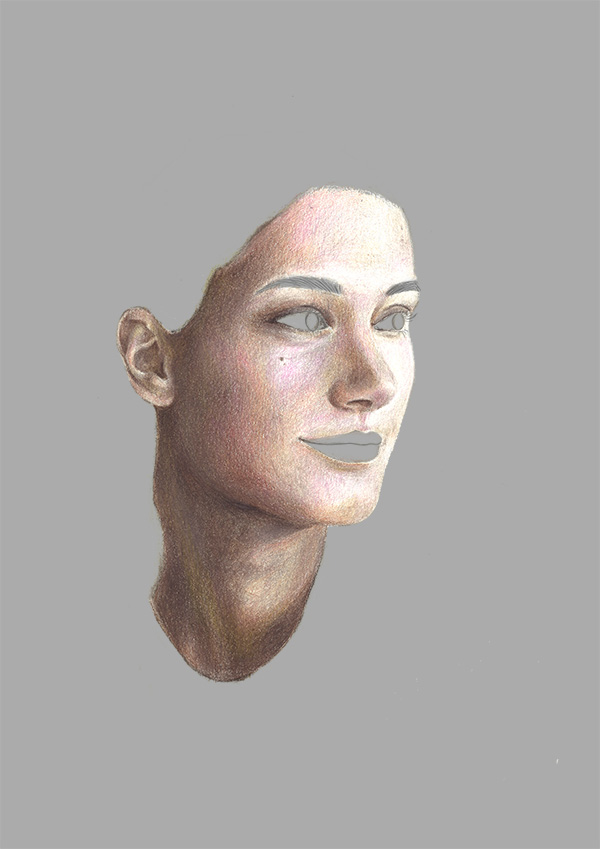
- It gets significantly lighter on the cheeks and warm shades such as purple and red are used.
Tip: Try to draw in small curved movements, this will give you smoother transitions.
- When you are satisfied with the colours and shades, take your lightest coloured pencil (white or grey) and move it in a curved motion over darker areas that you would like to appear “softer“. The pencil will blend the underlying colours and make the surface appear smooth. Repeat the same for the light areas of the face with a white pencil.
- Finally, take a dark coloured pencil (dark brown or black) and use it to set contrasts. For example, under the chin there is a space that separates the face and neck, which you can emphasize a little. This way you give your drawing even more contrast. Remember to be very careful with the dark tones. Black and other dark colors are more suitable for drawing eyelashes and hair.
Wow! What an amazing tutorial! A huge THANK YOU to Anna for sharing her tips on how to draw skin tones using coloured pencils with us!
Your turn!
Did you try the tutorial? How did it go? What strategies help you to draw lively skin tones with coloured pencils? Tell me about it in the comments and
TAG SABRILLU IN YOUR DRAWINGS ON INSTAGRAMDo you use Pinterest?
Save these pictures to your Pinterest-board for later:

Find more tutorials here:
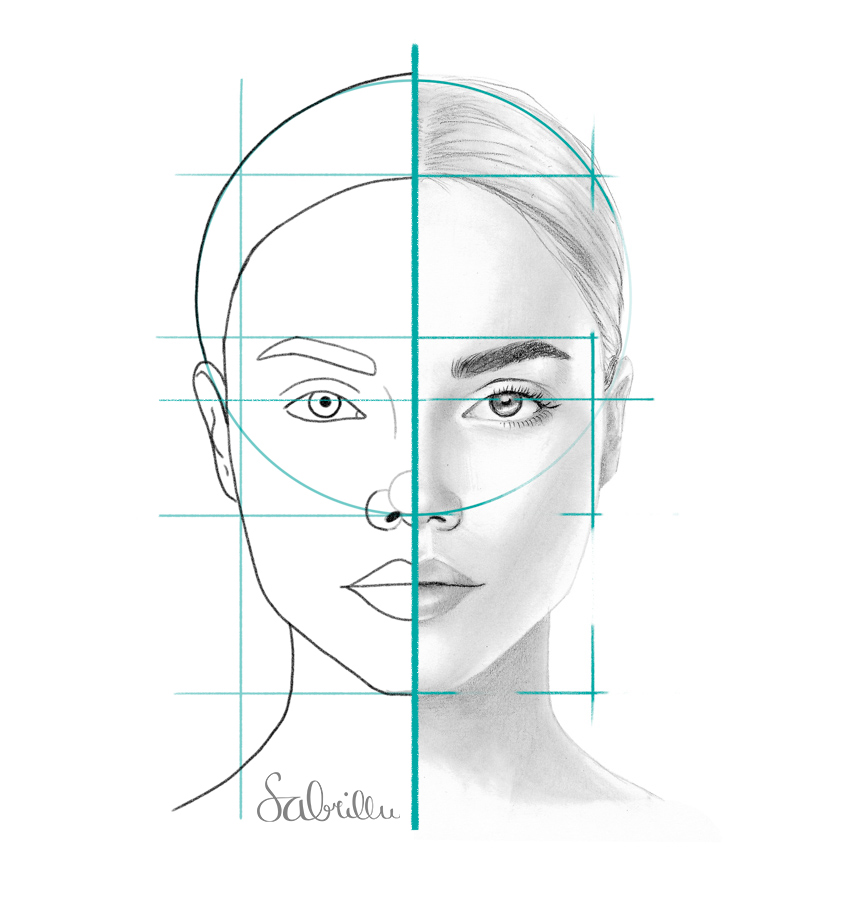
How to draw a female face
In this easy step-by-step tutorial you will learn how to draw a beautiful female face with the right proportions. You only need pencils and paper, let’s go!
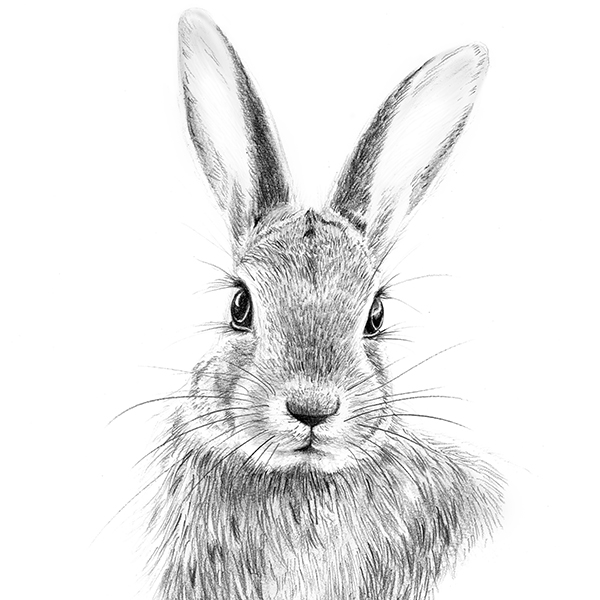
Draw a rabbit with pencils
In this easy step-by-step tutorial you will learn how to draw a realistic rabbit with different pencils. Drawing animals is so much fun!
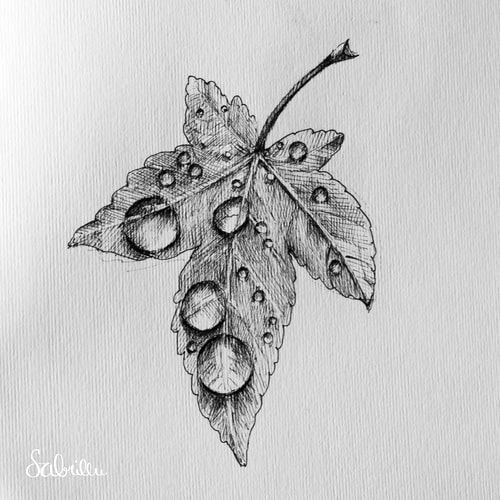
My 5 best tips for pen & ink drawings
Here are my 5 best tips for learning how to draw with pen & ink. So grab your drawing materials and improve your ink drawings instantly!
No Comments