
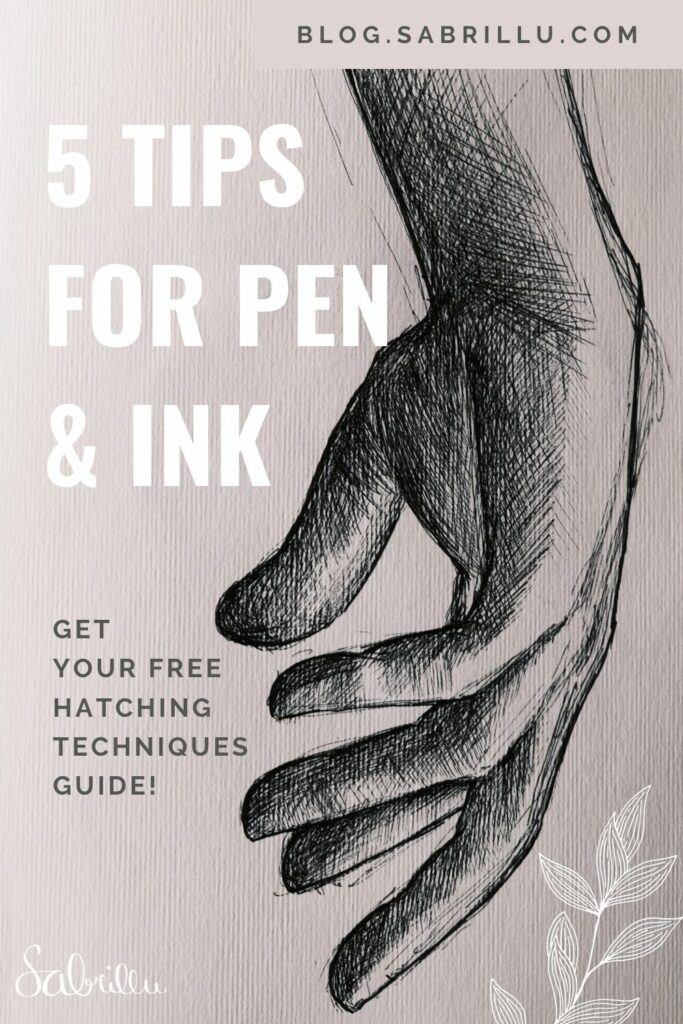
22 Nov My 5 best tips for pen & ink drawings
Draw with pen & Ink
Do you want to learn how to draw with pen & ink? These tips will help you!
Some time ago, I decided to practice my sketching by drawing in my sketchbook every day. I had made my own drawing challenge. For the past month I have worked on an ink sketch every day, and I’ve learned along the way. I’d like to share what I’ve learnt with you – so here are my 5 best tips for ink drawings.
Drawing with fineliners or ink pens may scare some people, because you can’t undo a line once it’s on the page. It cannot simply be erased again. However, the technique also offers some advantages, which I want to show you here briefly:
- Highly contrasting drawings on white paper
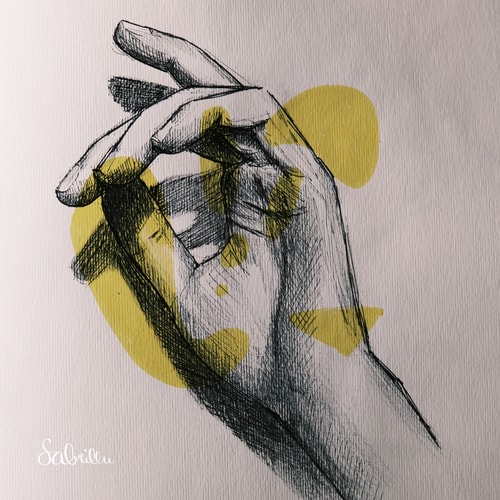
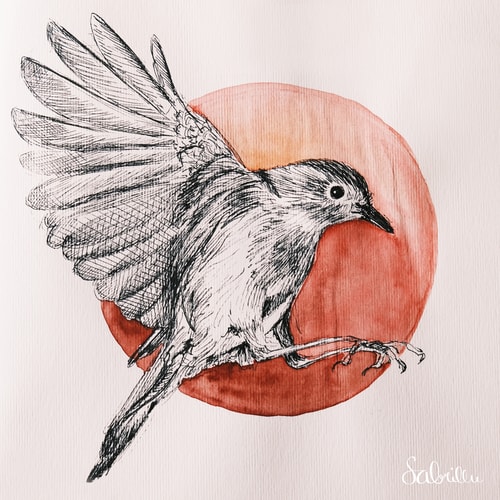
- Perfect to combine with other techniques, e. g. watercolour
- Strong light resistance (colour changes little over time)
Tip # 1: The first and perhaps most important tip I want to give you is: Don’t be afraid of “bad” lines.
If you have ever drawn with pen & ink, you’ve probably already experienced this: you want to draw the perfect straight or round line and for some reason your hands shake suddenly, leaving a wobbly line on the page. This is particularly annoying when drawing outlines. Maybe you even think your picture is ruined now and you have to start over.
To make it an extra challenge, I made my ink drawings even without pre-sketching – that means, I drew directly with ink on the empty sheet – of course I made some inaccurate lines!
Don’t let a few skewed attempts irritate you. This is quite natural, and even happens to the best of us. Instead of just throwing your page away, you should continue drawing in a more relaxed way.
Most of the time, individual outliers are no longer visible in the finished drawing, or they sometimes even make the picture more interesting. So, my tip for you is: just keep drawing and don’t lose your nerve. You will intuitively compensate for mistakes with other lines.
If you have blurred your outlines, try to trace the first blurred line with a thick pen. You will probably succeed on the second try and you can hide the wobbly line a little with the thicker pen.
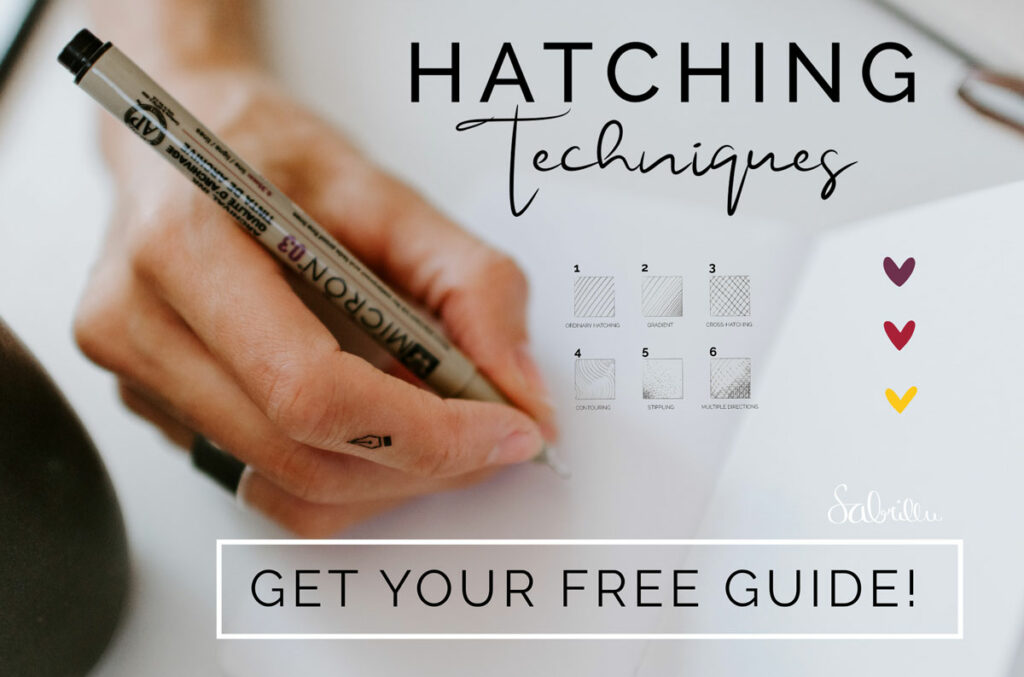
Tip # 2: Try different hatching techniques
When drawing with ink pens or fineliners, you cannot shade as you’re used to with the pencil. Smooth gradients are a little more difficult to achieve and you should definitely practice different hatching techniques.
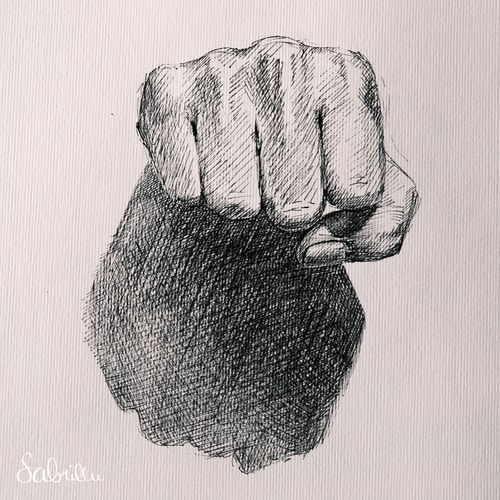
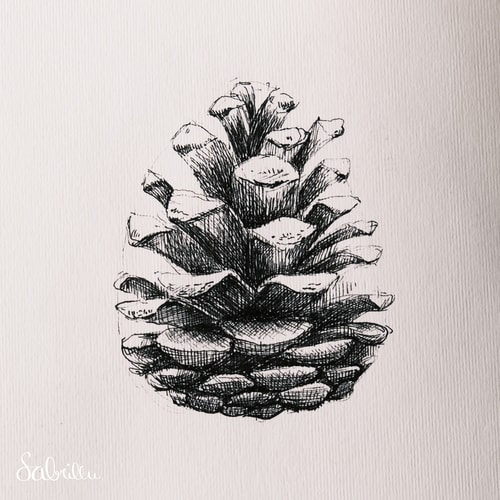
Note: If you want the surfaces to look flat, try to keep the same distance between the parallel lines (see 1st example). But if you want to achieve a three-dimensional effect, start to leave a little less space between each line. This way it will gradually get a little darker and it’ll look like a gradient.
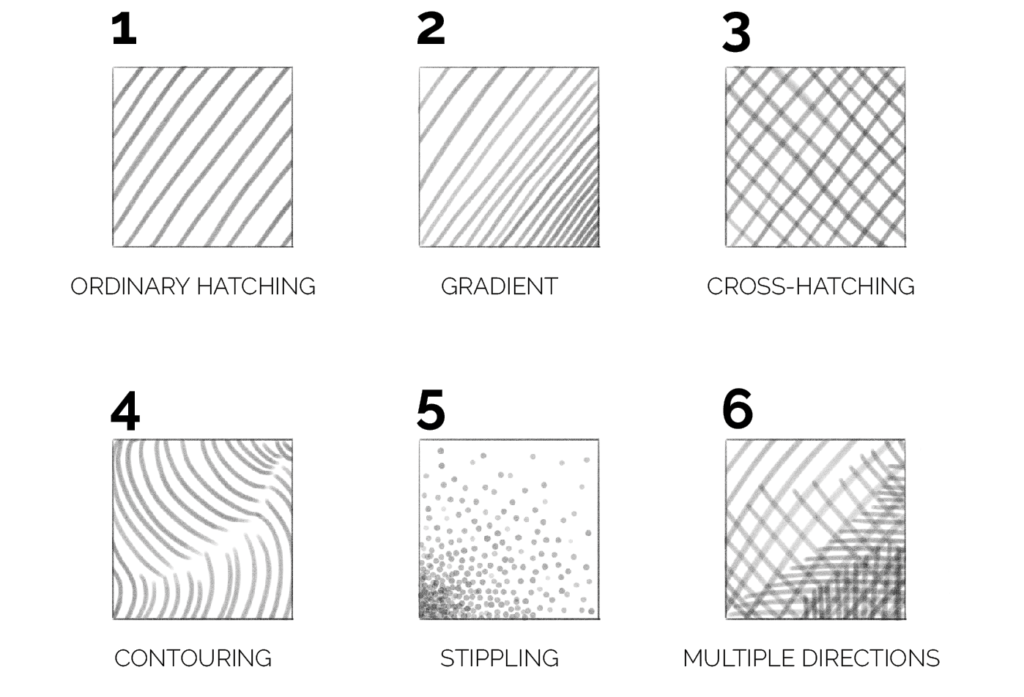
Another way to shade an area in three dimensions is to draw lines on top of each other. This way you increase the amount of black and thus create a shadow. Ordinary hatching (lines look in the same direction) or cross-hatching (lines cross each other) are particularly suitable for this. You could also shade objects with dots.
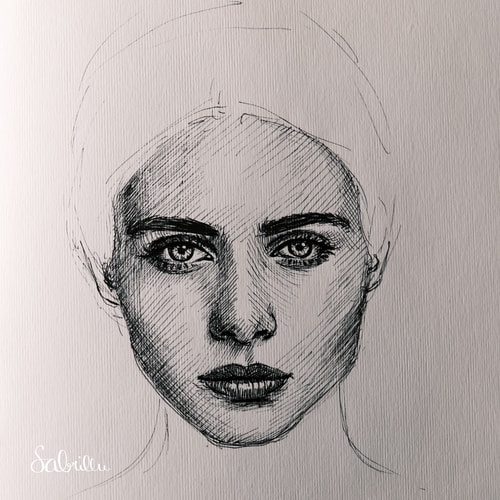
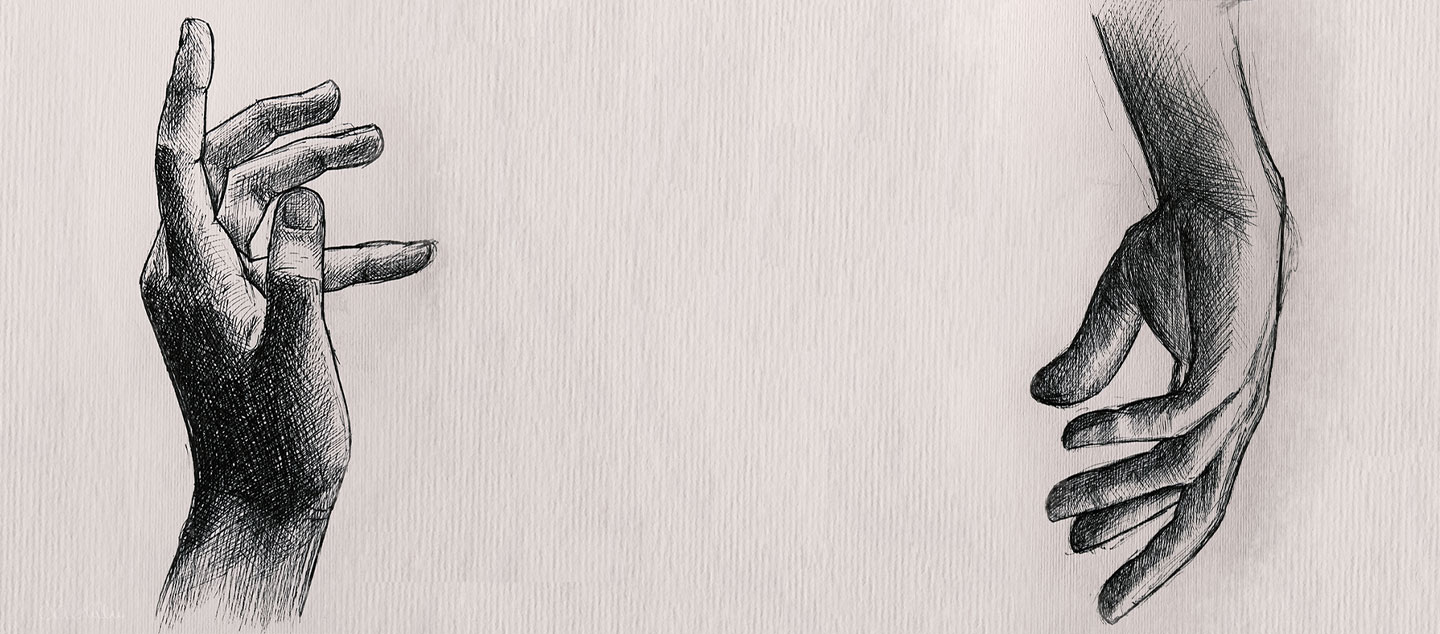
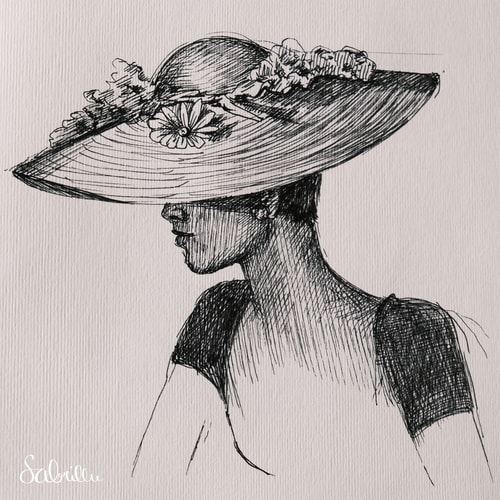
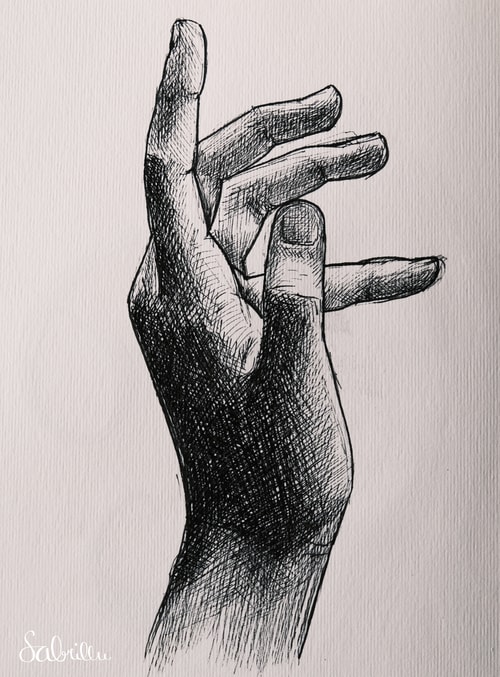
It’s also exciting to shade objects with lines that follow the shape. I think it creates an interesting effect and emphasises the shape at the same time. For example, I used this technique for this ink drawing (on the nose e.g.).
Tip # 3: Use thick markers or liquid ink to darken large areas
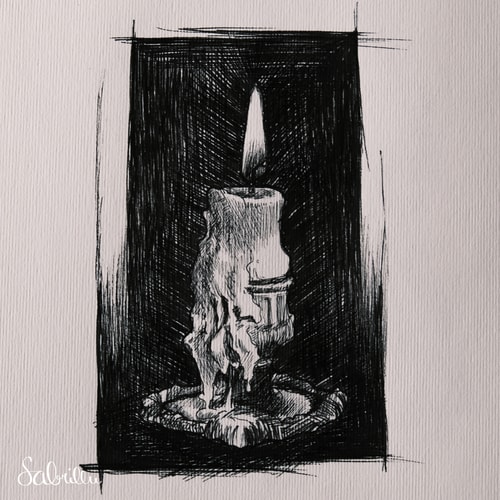
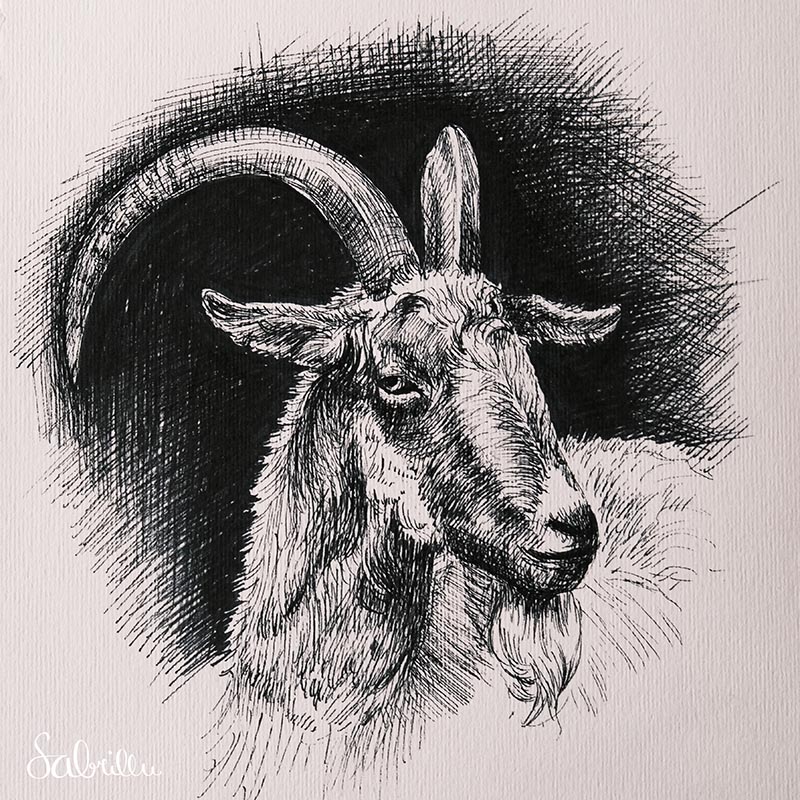
By drawing a lot with ink pens, I found out that I can really make my drawings pop when I paint the background completely black. This is how I did it with this goat, for example.
The sketch of the candle only really works because of the dark background.
A thick marker or an ink pen with a broad brush tip is particularly suitable for such large black areas. Of course, you can also just take a normal brush and paint the background if you have a glass of ink or another very opaque black colour at home.
Tip # 4: Use different pen thicknesses
Use a very thin fineliner for the first rough sketch. This way it doesn’t really matter if a line is not where you wanted it to be, because you will later draw over it with a stronger pen anyway.
For light shading, you should also use a pen that is as thin as possible – this way you’ll achieve smoother gradients.
For outlines that you want to be easily visible, use a medium pen width so that the outlines stand out from the other lines.
Use a thicker pen if you want to emphasize dark areas – for example, a shadow under the chin.
Use a thick marker or brush pen for an opaque black area.
Tip # 5: Draw with pen & ink daily!
Like pretty much all things in life, the more you do them, the better you get doing them. So just start and try to do at least one little sketch every day. It doesn’t have to be an elaborate drawing – 10 minutes are enough. Don’t be afraid of wrong strokes and just let mistakes happen to see where they might take you.
I bought myself a sketchbook for this purpose and made a little drawing every day. Sometimes I only draw for 15 minutes, sometimes much longer. The main thing is that you get a routine and just stick with it. You’ll improve so much over a short period of time..
Download my free hatching exercise sheet!
Here I have briefly summarised a few hatching techniques for you. You will also find sample images of the techniques in use. If you print out the PDF, you can also practise the most important hatching techniques and draw with pen & ink directly on the exercise sheet.
With this in mind, I hope you enjoy drawing with pen & ink and that these tips will help you a little along the way.
If you want to show me your results, tag me on Instagram @sabrillu_ – so I can give you feedback on your work.
If you have any questions, feel free to ask them in the comments down below.
Sabrina

Do you use Pinterest?
Save this image to your board:
Click here to get to my Pinterest-Profile
Have you seen these posts yet?:
More Tutorials
- Draw a bee with watercolours
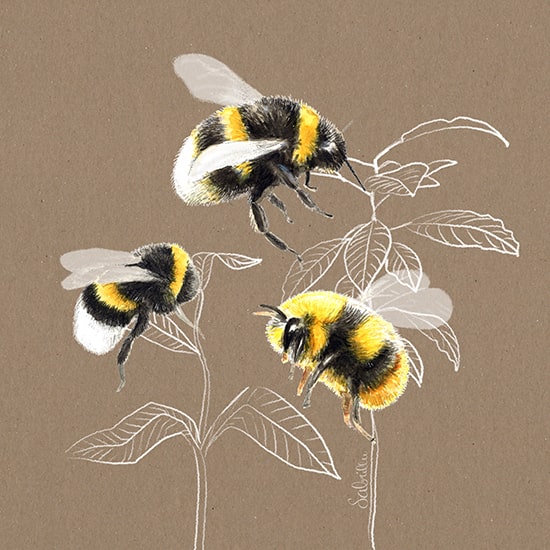 I’ll show you two easy ways to draw a bee. So if you have acrylics or watercolours at home – watch my video tutorial and start drawing today!
 - How to draw a portrait
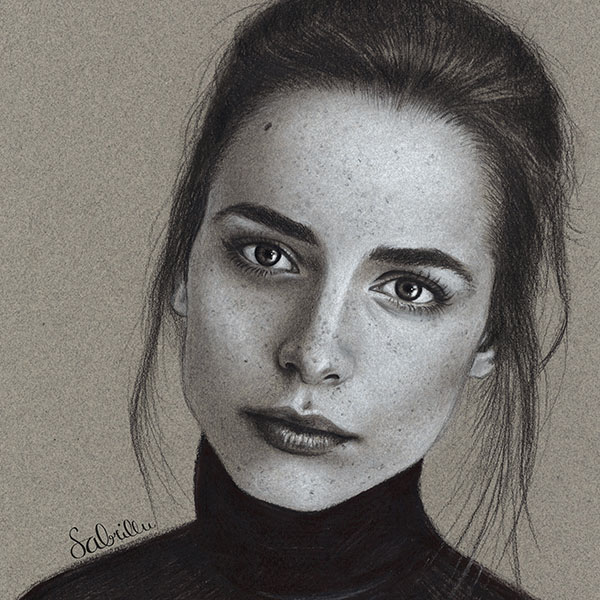 You want to draw a portrait, but you don’t know how and where to start? In this guide and video tutorial, you’ll learn how to get amazing results.
 - How to deal with a Difficult Drawing
 Are you unconcentrated after a few hours of drawing? Do you feel stuck with a difficult drawing? This tip will help you to move on.
Linde
Posted at 13:14h, 23 NovemberHi Sabrina,
Love the content you are sharing. I came across you pinterest and website since I decided to draw again. I only struggle now what do I use for inspiration to draw every. So I was wondering was do you use as inspiration? Photographs (a board on pinterest) or you daily atmosphere.
Thanks in advance.
Sabrina
Posted at 19:30h, 23 NovemberHi Linde! I’m so glad you’re finding my posts useful 🙂
This is a very interesting question! Thanks for asking. I normally draw what I see or feel around me – so in October I drew lots of autumnal things like candles, mushrooms etc. Most of the time I think about a topic to draw and then try to find some inspiration on Pinterest. I don’t have a dedicated board for that – except for portraits (I have a board called “Drawing References” which I frequently use for inspiration)
I hope this was helpful! All the best for your drawing journey! Happy creating ❤️ Sabrina