
12 Apr How to draw a portrait
Portrait drawing made easy
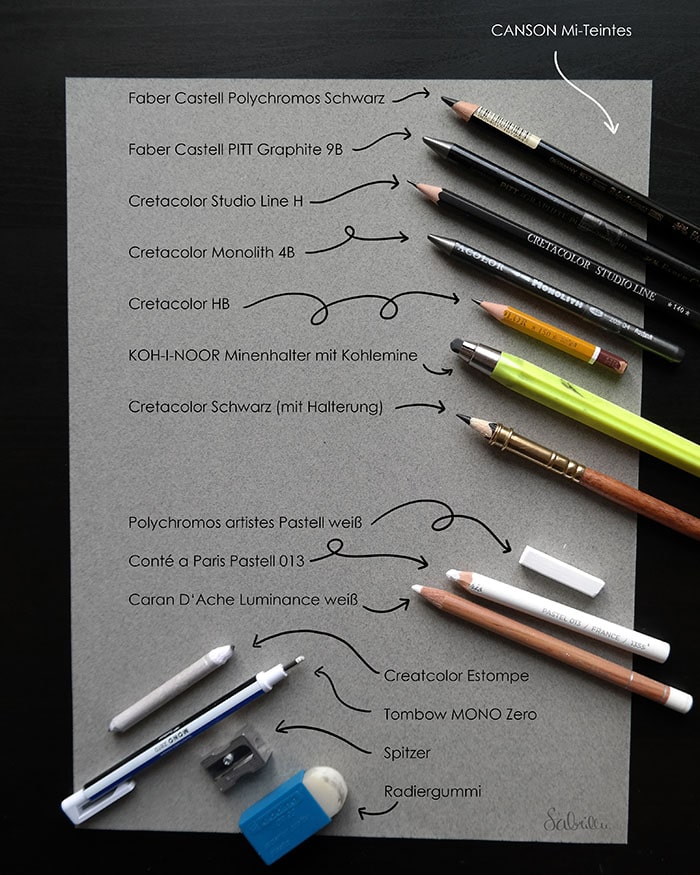
Here are the materials that I used for my portrait drawing
Materials
Of course you don’t have to buy all the pencils and utensils I’ve used. Instead, to begin with, these materials are enough to draw a beautiful portrait:
- toned paper (e.g. brown or grey)
- white chalk
- pencils (HB – 4B)
- charcoal or black coloured pencil
- eraser
- sharpener
Quick Start Guide
Time needed 2 hours and 30 minutes
Here is a quick guide to portrait drawing with chalk and charcoal
- Sketch out the face
Firstly, you should roughly grasp the shape of the face and determine the position of the eyes, nose and mouth. To do this, use guides or axes to make sure the eyes are in line and equidistant from the center of the face.
- Light areas
Next, draw the light areas of the face with chalk, for instance the areas where a lot of light hits the face.
- Shadows
This step is particularly important and you should take your time. Emphasize the dark areas of the face with a pencil (not too soft) – because this gives the portrait a three-dimensional effect. Make sure that you don’t get too dark, you can emphasize the very dark areas at the end.
- Hair, neck and shoulders
After that, give your portrait a body and a hairstyle. When drawing the hair, try not to draw each hair individually, instead try to work out each strand (you should leave out shiny spots and possibly highlight them with chalk).
- Eyes, nose and mouth
In the next step you can work out the facial features more precisely – as a result your portrait will get character. This will make the the person recognizable. Pay particular attention to details. And don’t be afraid to make mistakes. What are erasers for?
- Pores, freckles and details
In the last step you can draw in individual details so that your portrait becomes unique. Now you can also check again whether the dark areas are dark enough and the light areas are bright enough (if necessary, you can now add accents with charcoal and chalk).
In addition, you can find more detailed instructions with step-by-step pictures on “The Creative Universe” – the link to my article is above!
I hope you enjoy trying it out and look forward to hearing your questions and your experiences!
Sabrina
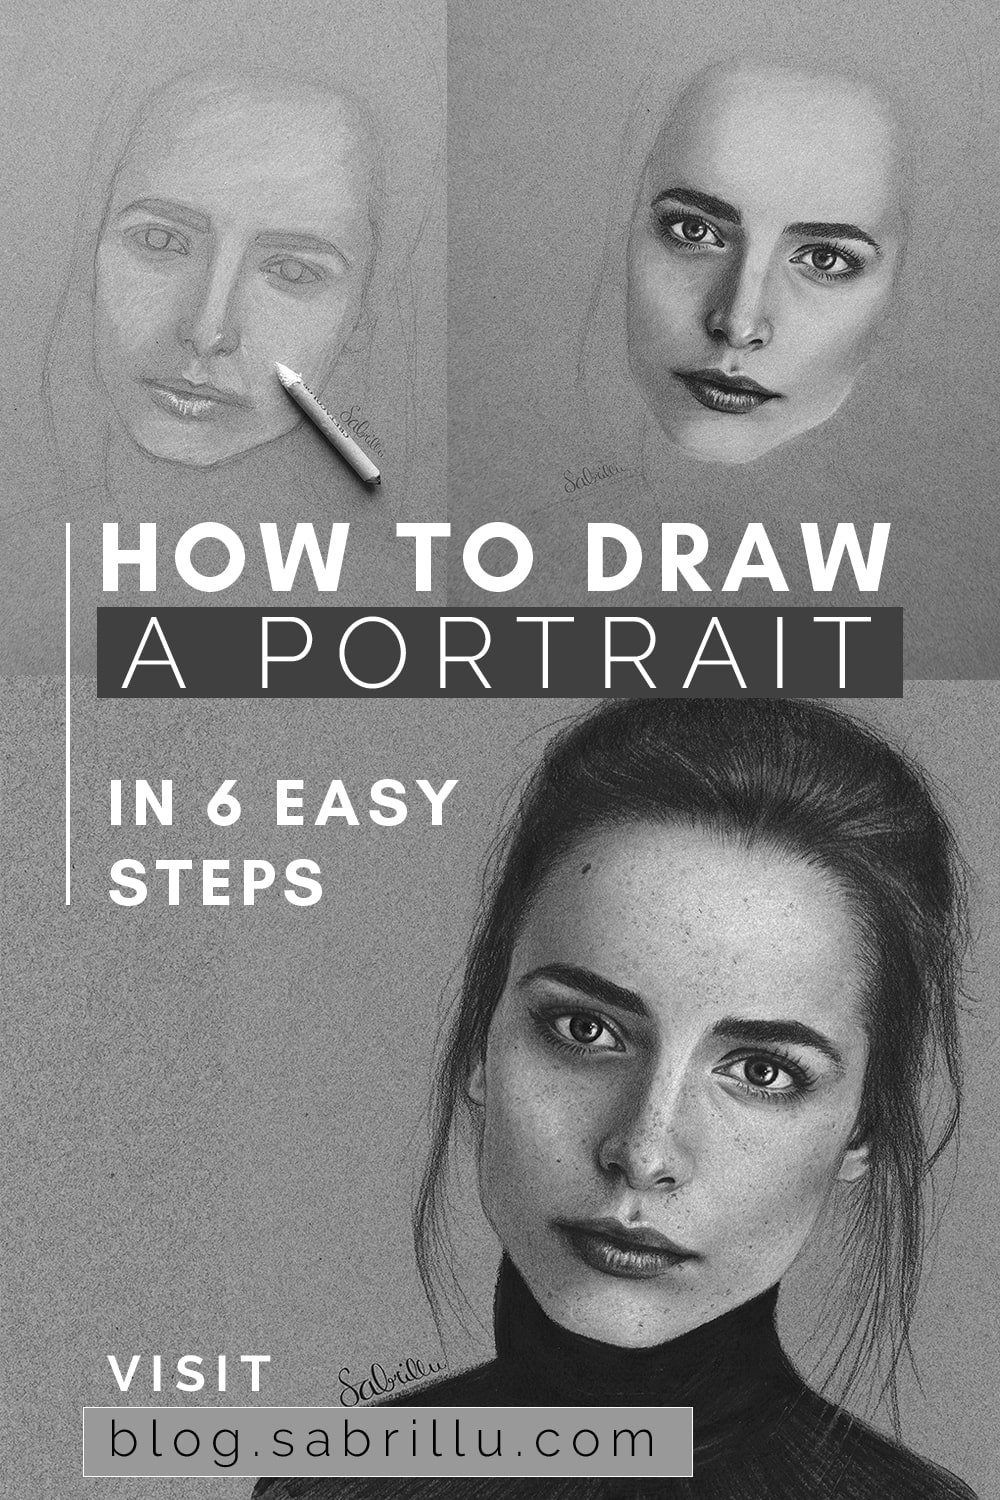
Here’s a picture you can save to your Pinterest
kunstkitchen
Posted at 12:27h, 24 JuneGreat lesson and technique.
Sabrina
Posted at 06:10h, 25 JuneThank you so much! That makes me very happy